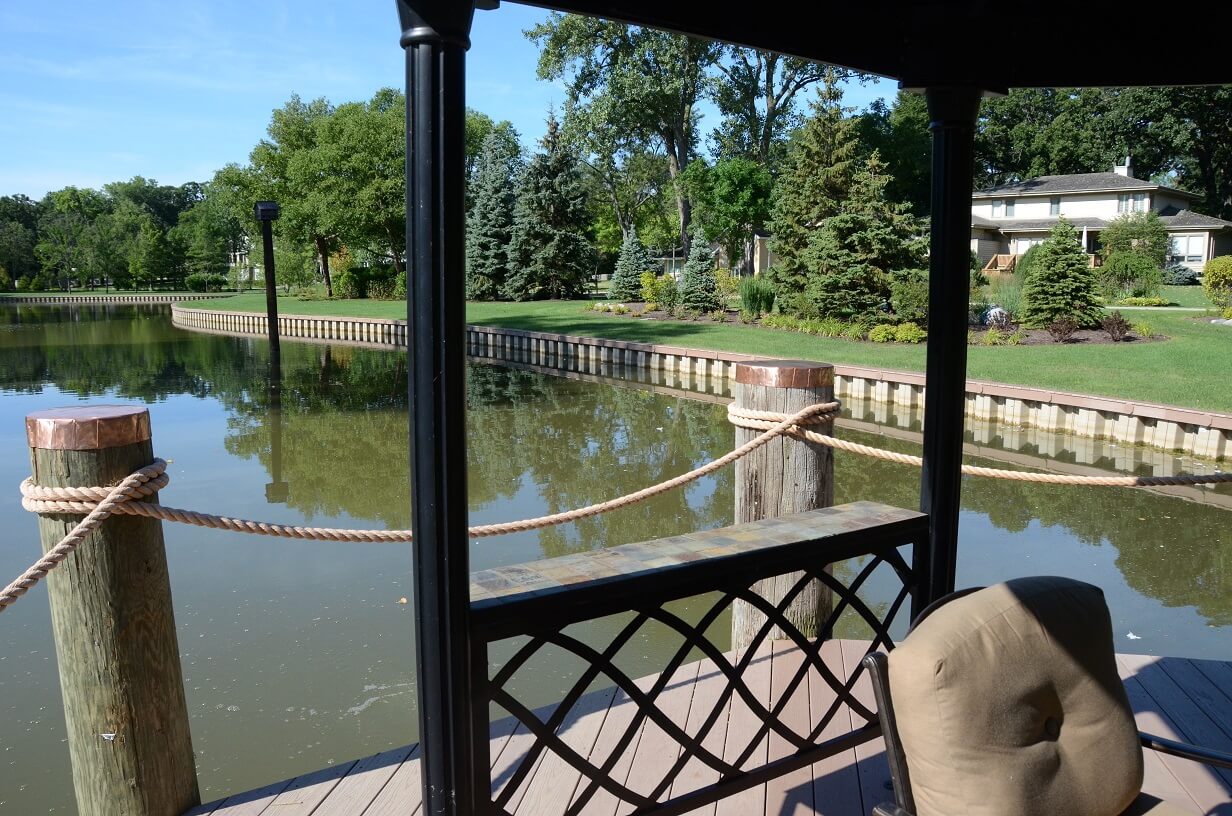
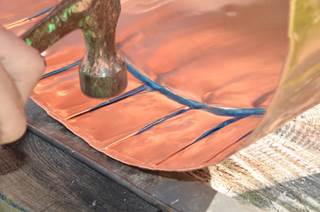
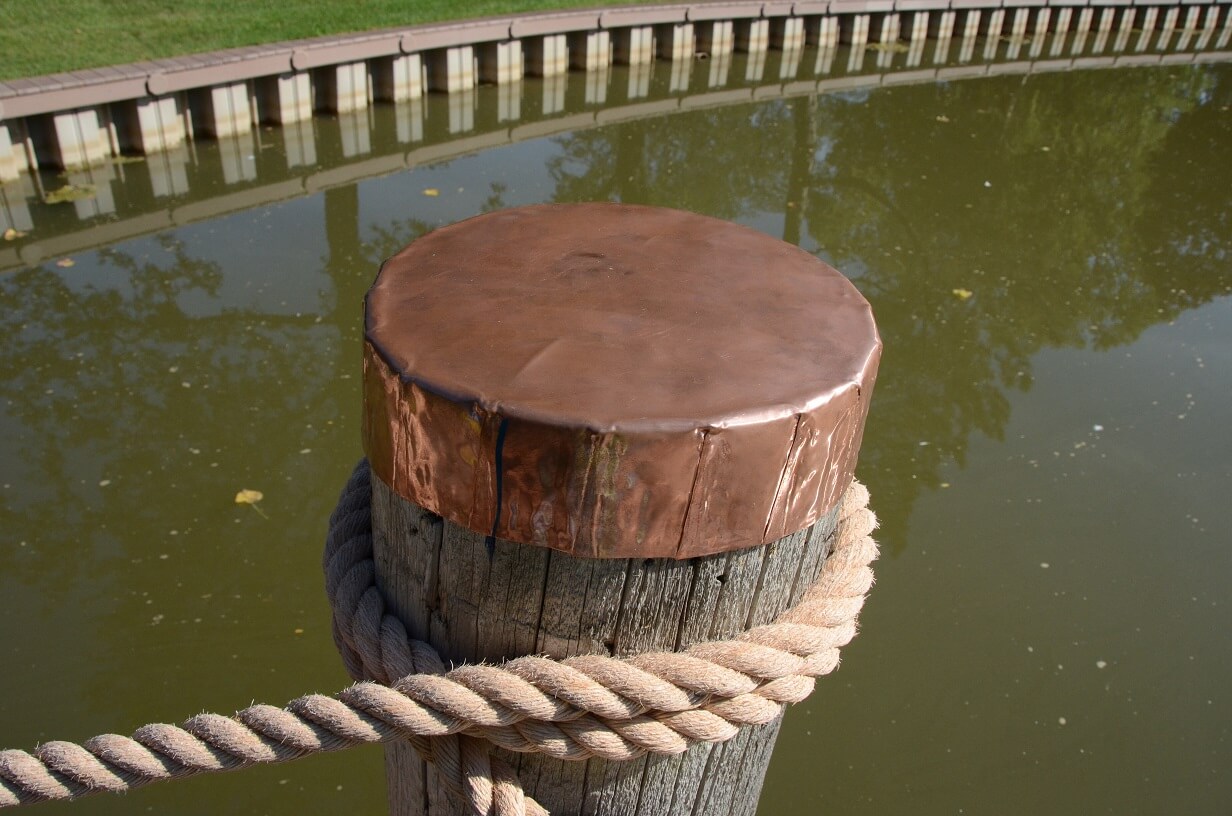
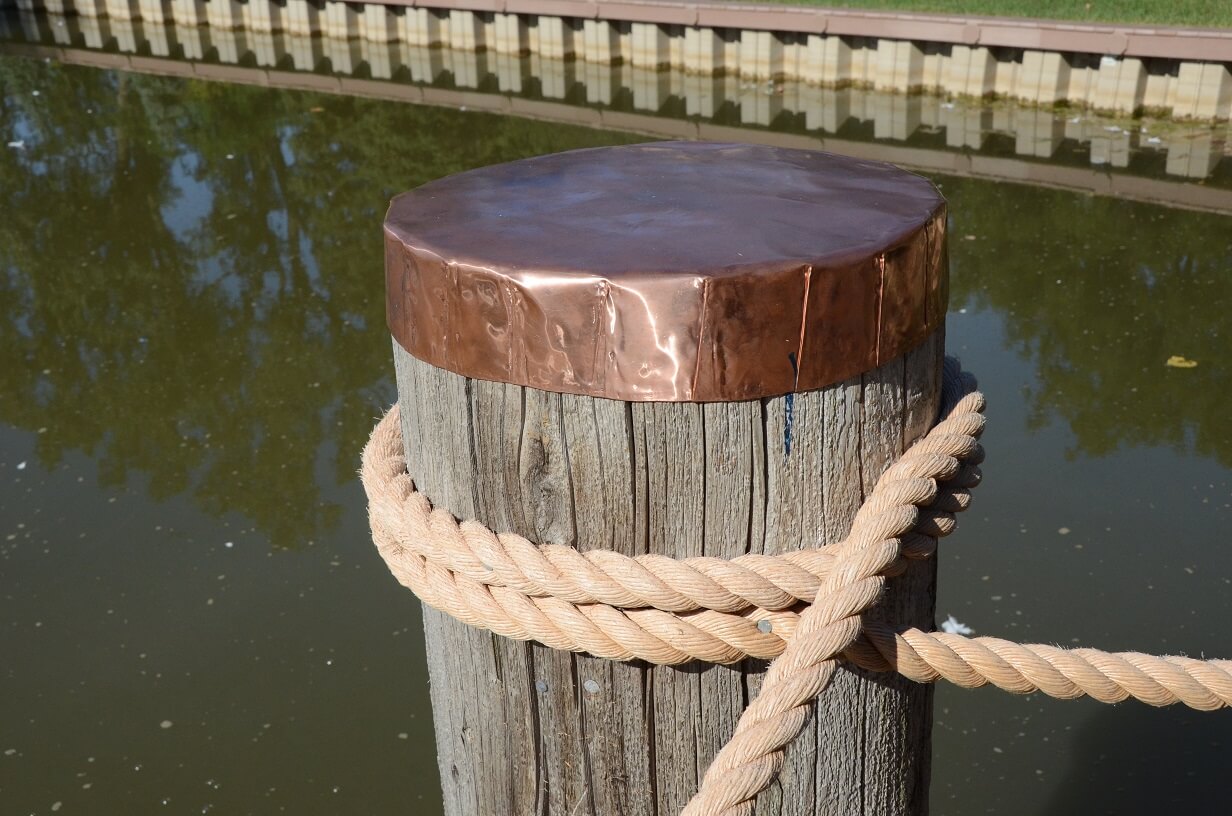
Copper post caps using our 10 mil (30 gauge) copper sheeting by Perry Dubose. He describes the process:
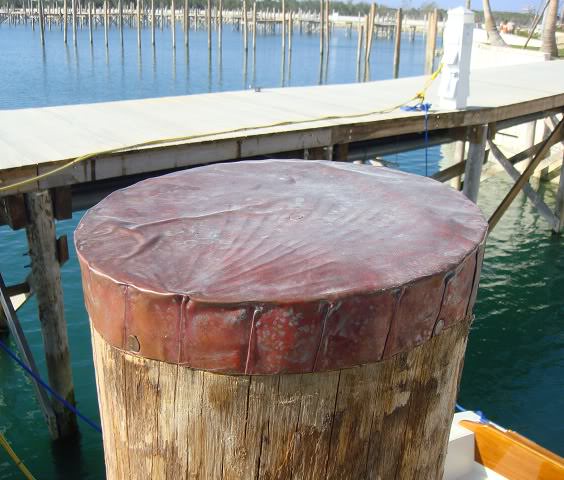
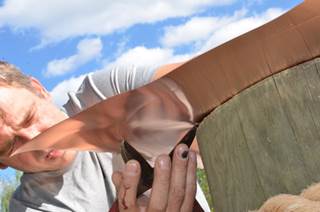
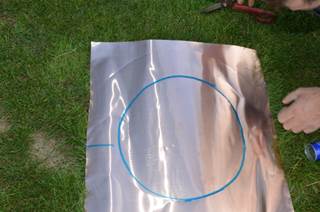
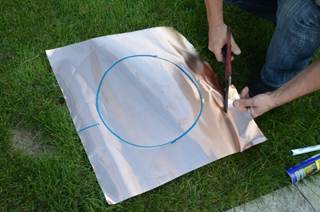
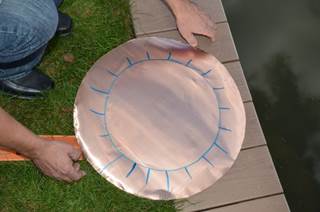
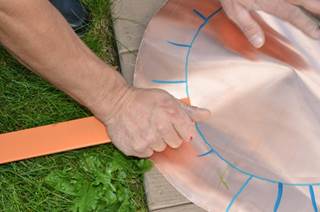
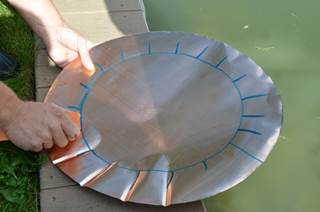
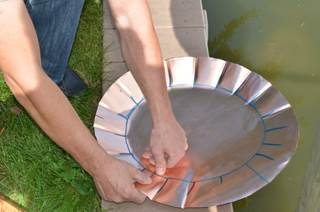
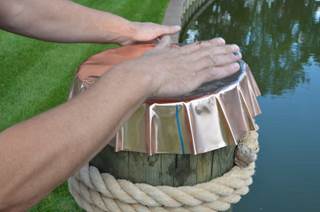
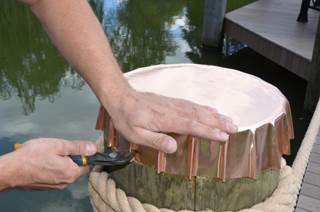
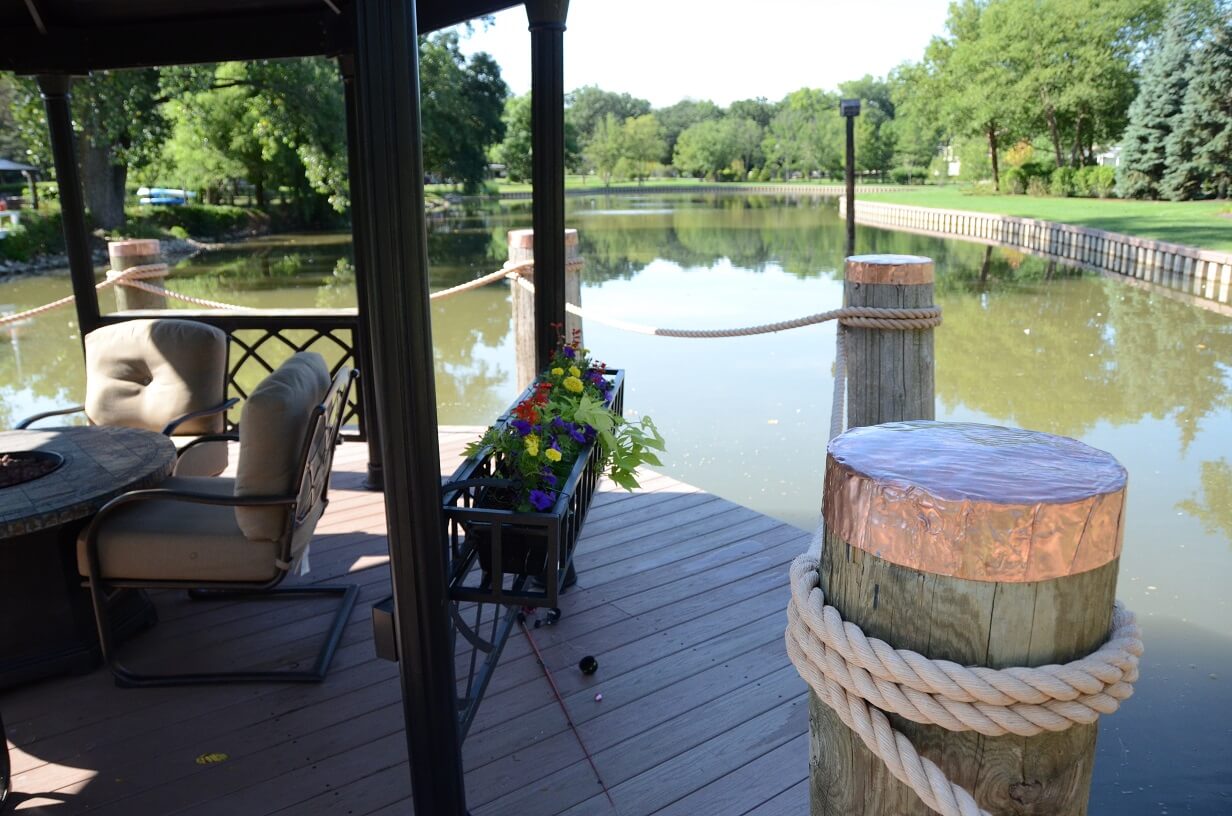
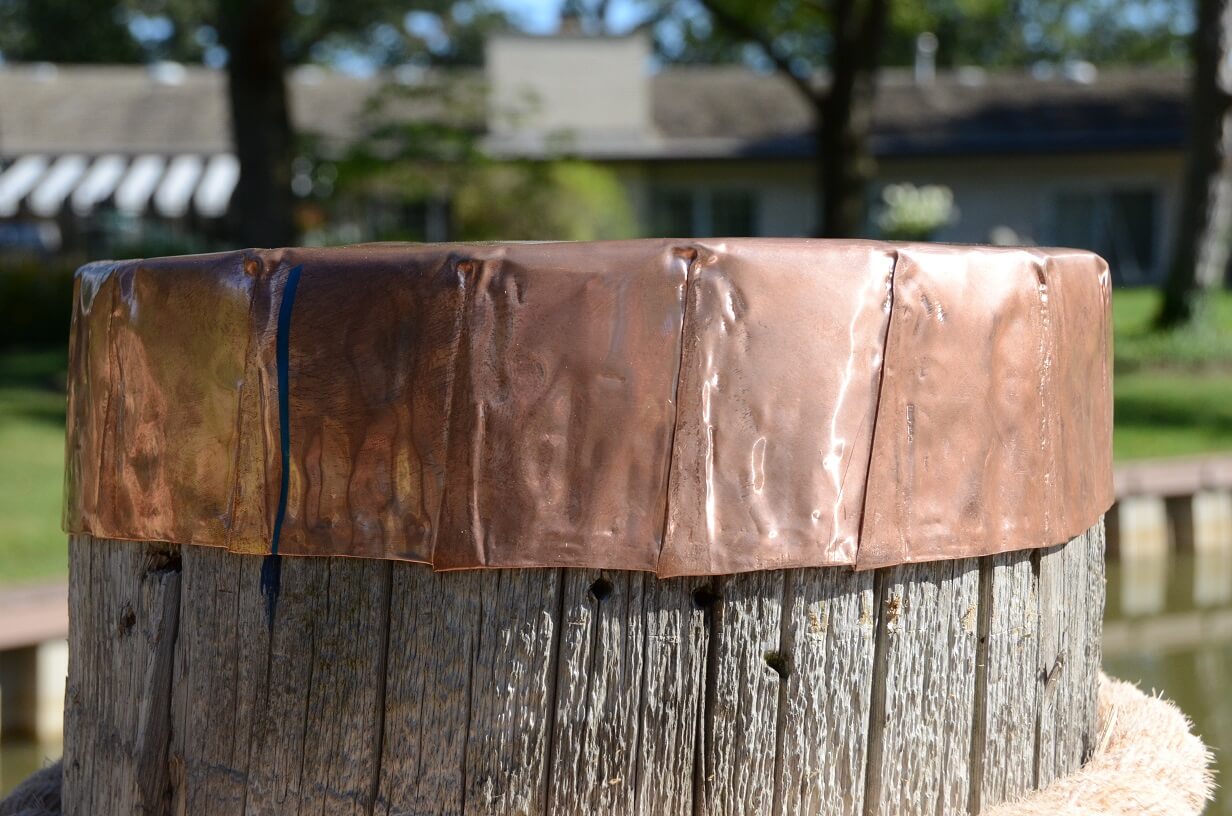
“We drew a circle the size of the post holding the copper against the post top. Cut the copper 3 1/2” inches larger than the circle. Marked off about 2 inches indicating where each of the bends will be formed. Started bends by placing copper circle on two boards secured about 6/16 space between them. Starting on edge, we pushed a piece of angle iron slowly from outside in on 2 inch lines forming a coke bottle top effect. After making a complete circle, trimmed side even again as they change during this faze. Fold outside lip over making for a smooth edge and squeeze with pliers gently. Place over post and complete bending using squeezing force and hammer Lift off and push sides in a little more. It should now fit very snugly. Put quite a bit of glue on top of the post. Placed copper over top and push down. Tap around sides with the hammer and let dry. We used liquid nails construction adhesive.”
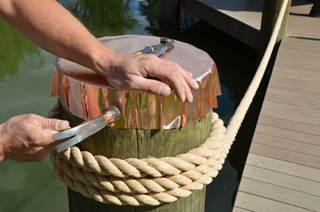
There are many ways to create and install copper post caps. Check out this project at a resort in Abaco, Bahamas using a slightly different method.