
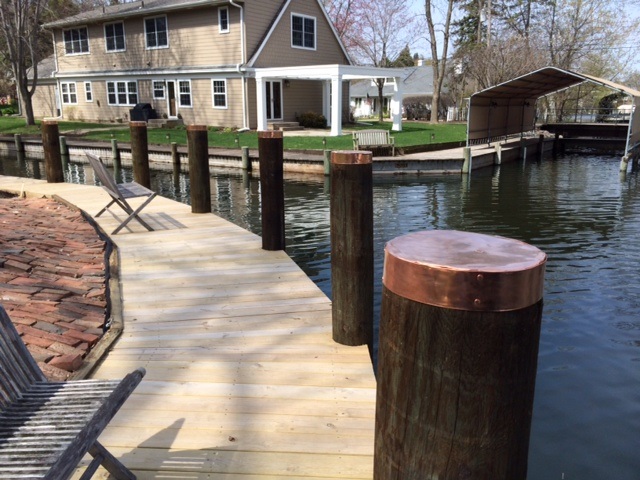
These photos of pier piling caps were submitted by Dave Barry of MN.
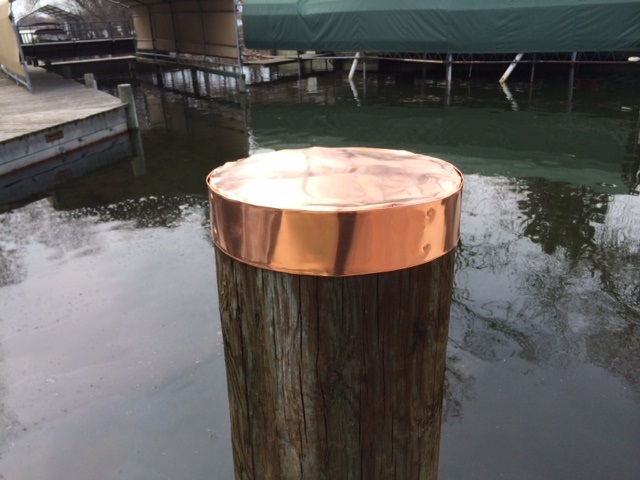
He created these with a roll of 10 mil (30 gauge) copper sheeting in a size of 36” x 18’. His first step was to measure the approximate diameter of each piling. He then cut a square piece that would cover the top, while allowing an overlap of 1 & 1/2”. After cutting the square, he rough cut the corners to form a circle. He then centered it over the piling and drove 1 copper nail in the center to hold it in place. From there he cut from the edge of the copper sheet, to the edge of the piling, every 1-3/4” or so. Then by hand, he folded each tab over, 1 fold at a time, overlapping as he worked his way around. He used a hammer to pound the copper against the side of the pilings for a tight fit. One nail was pounded in every couple of inches or so. This continued until all folds were in place. He then made a trim ring. His pilings were each about 36” around, some just under, so he trimmed the copper sheeting as he was installing the ring. The trim piece was approx. 3” high x 36” long. He then took a straightedge and laid it against the piece with about 3/16” showing. With that 3/16” showing he used his hands to fold that up against the edge the full 36 length. Then he removed the straight edge, and folded the piece over completely. The purpose of this was to avoid having any sharp edges. He then used a regular hammer to flatten this edge from end to end. Flip the piece around and do same with other edge. The trim piece he added covers all the cuts that were needed to form the top. Finish with a tight fit around using 2 nails each 90 degrees.
There is more than one way to create these pier pilings! You can also view the pier piling on this page- to see a different approach where the tabs are exposed.