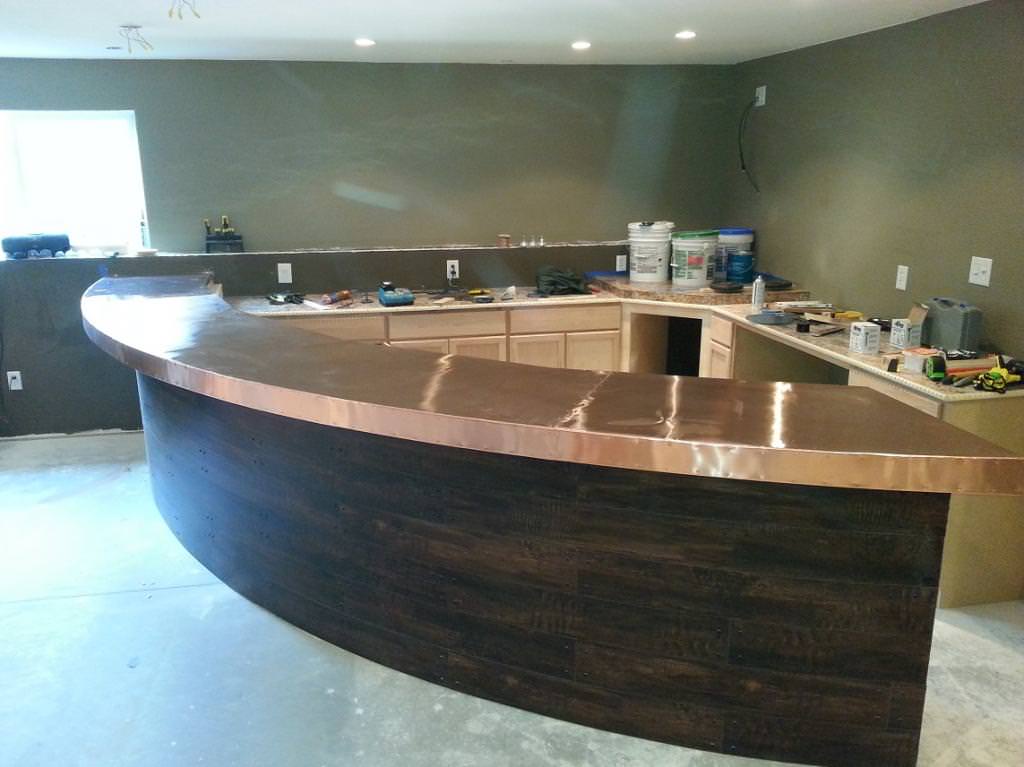
The photos of this copper bartop were submitted by Nelson Maldonado of Oak Creek, WI. We think this is a wonderful example of a do-it-yourself copper bar top- where even with seams and an odd-shape to tackle- the result is amazing!!
He created the bar top from a 3ft x 18ft roll of our 22 mil copper sheeting, and the face trim was created with a 6" x 25 ft roll of 22 mil copper sheeting.
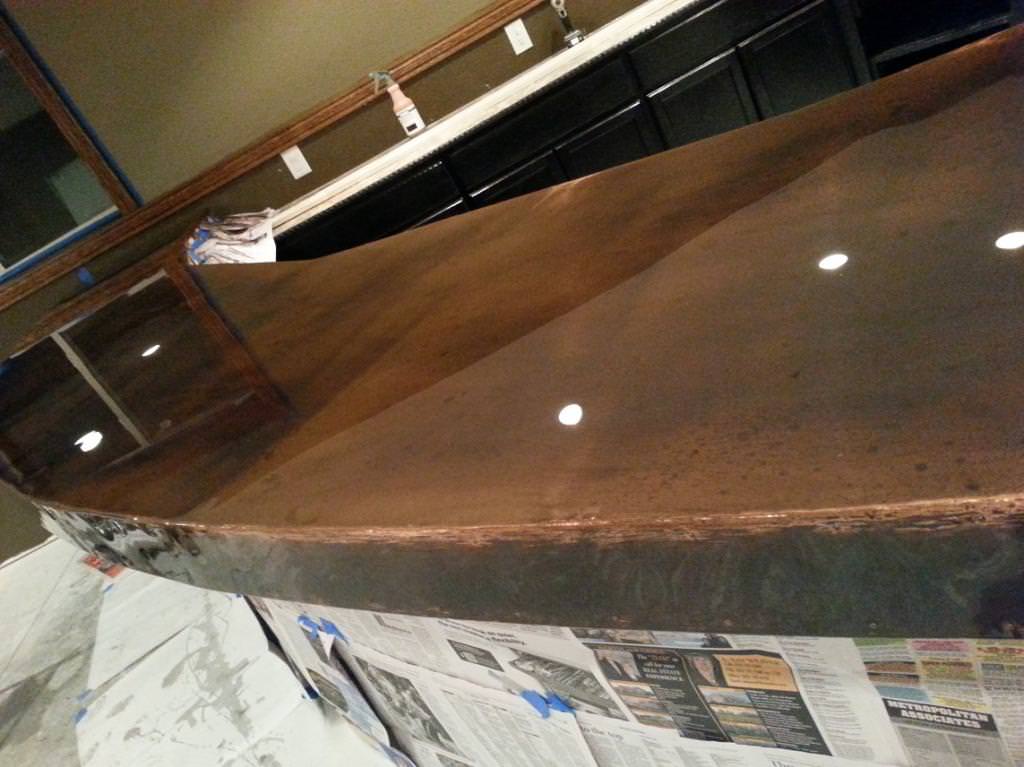
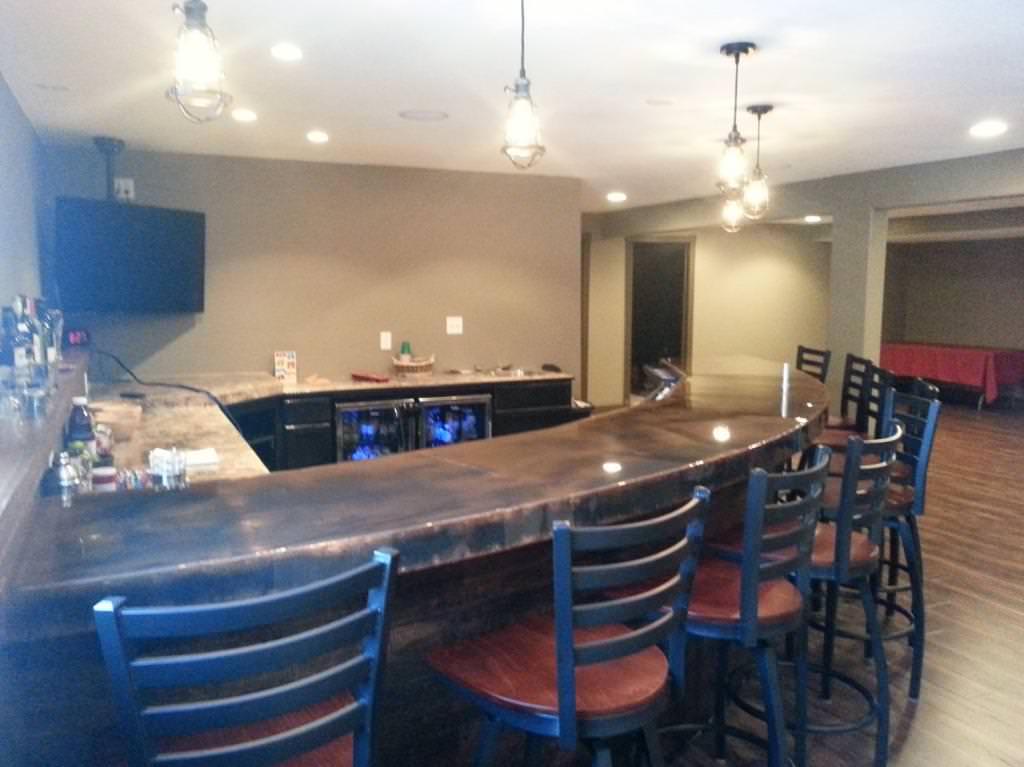
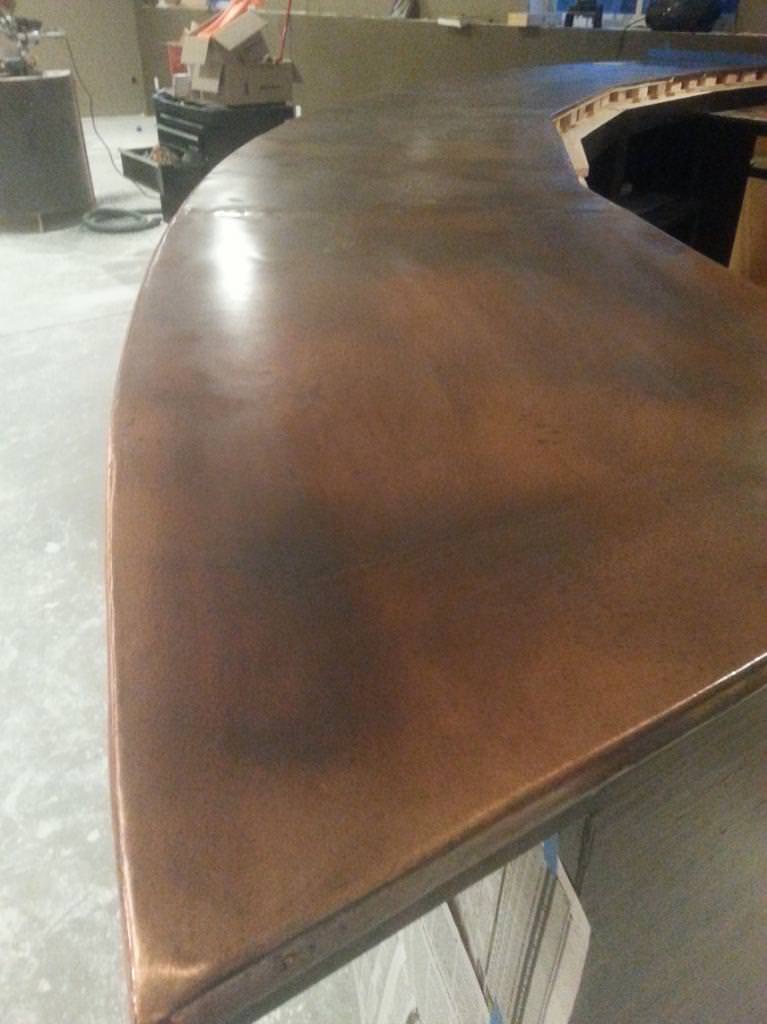
He made the bar by first dry fitting it in three sections, as the bar is in a radius that could not be covered with one solid piece of copper. Once the pieces were cut, he rolled contact glue on the top of the bar and one side of the copper. He highly suggests having a friend help when attaching the copper to the bar top as he cautions that you only get one chance with the contact glue. He used a heavy roller on the top to help achieve adhesion, but he also recommends putting weight on the top overnight in order to get a good bond. He placed copper nails along the seams which adds a nice decorative touch. Once all the pieces of copper were in place, he used a belt sander to smooth the rough edges where the top and sides meet. Then what describes as the "fun" part, he used our bottled patina antiquing solution (brown) with a sponge to create the rustic look. He sprayed the solution on the sponge then rubbed it into the top and let it sit until the look he was hoping for developed. He then wiped off the excess solution and sprayed the top with a clear coat to stop the aging process. He practiced this on on several scrap copper pieces before applying to the bar, so that he was sure he would like the effect. His final step was to pour an epoxy over the top to give it a nice shine. He hopes our visitors will be inspired by the photos! He says that it was quite an undertaking, but that his work paid off and the bar is exactly what he had hoped for.