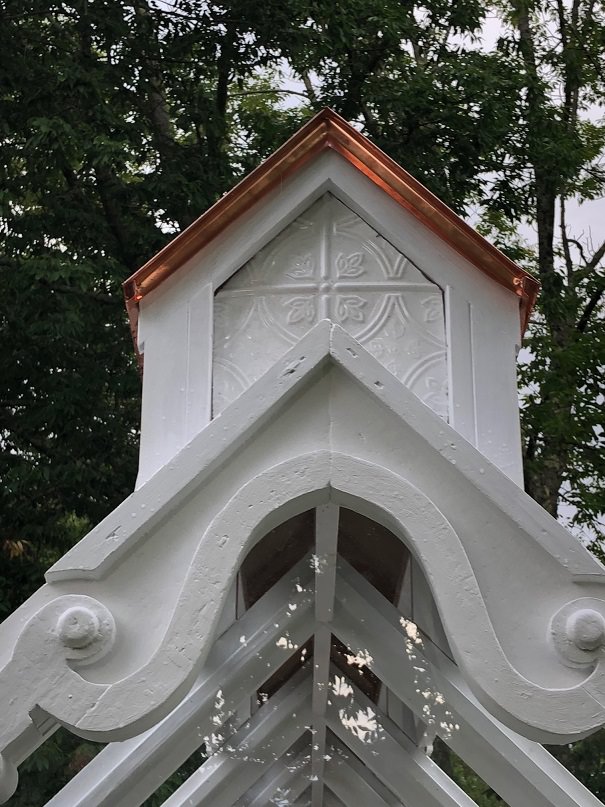
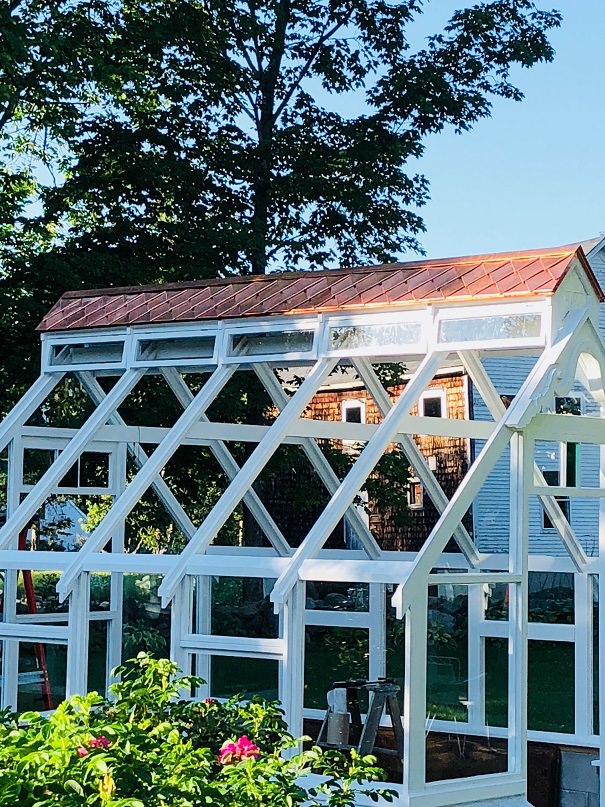
This is a gorgeous, handcrafted copper roof by Jeff from Belfast, ME using our 22 mil/16 ounce copper flashing. Below he has provided some great information on how you can create a roof like this yourself. This could be adapted to cover a gazebo, a cupola, or even a birdhouse. The size of tiles and thickness used could be adjusted for your particular project, but the unique look and watertight interlocking system would suit a number of purposes.
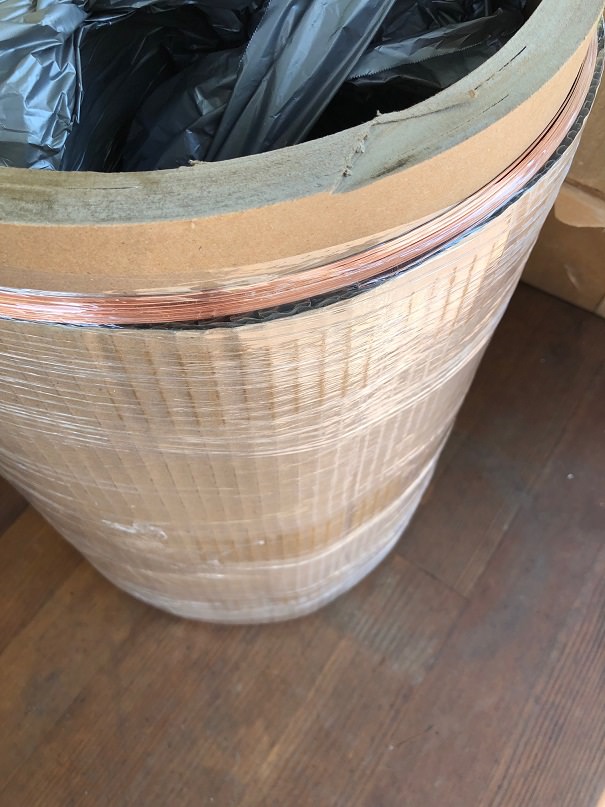
Step 1 – order copper. The only thing I knew about copper roofing is that I like the looks of it, especially when the patina is developed. I am not a roofing expert (or a carpenter for that matter), but I’m in the process of building a greenhouse. A lot of skill building is happening on this job. My first thought was to just wrap a long strip of copper on the roof, but my wife talked me out of it as she felt it “would be boring”. I elected to go with an 18” wide roll of 16 ounce/22 mil (20oz would also be a suitable choice). The first picture is how the copper arrived. Very well packaged.
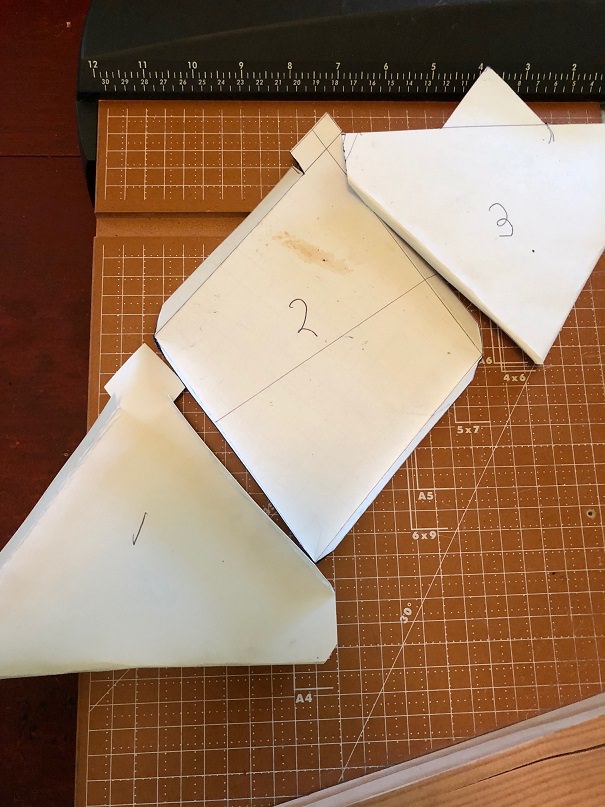
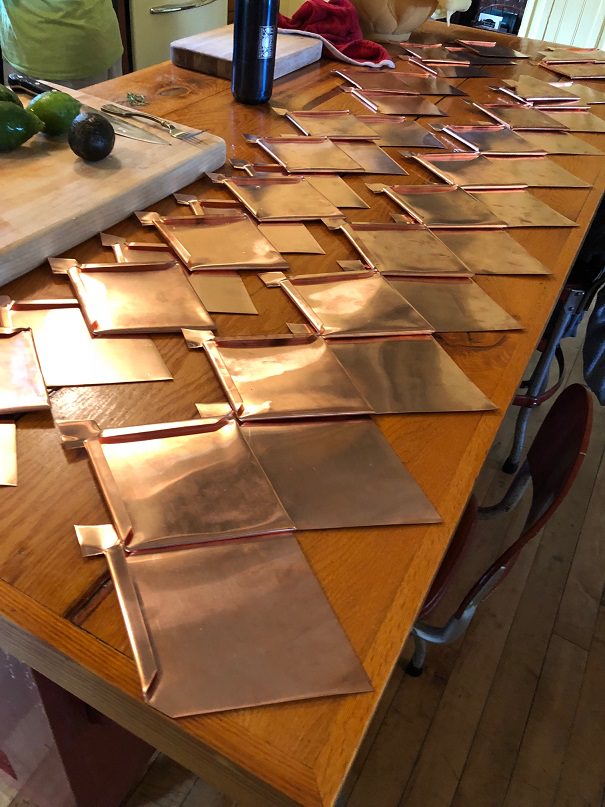
Step 2 – Not knowing exactly what I was going to do with the copper when it came, I googled images of copper roofs and stumbled upon a coppersmith from Connecticut who had put up a roof similar to the one I did. He showed a close up of the formed shingles and from there I copied what I thought was an approximate model onto cardstock. You will notice in picture 2 that there are 3 different types of shingles that need to be created. Shingle 1 is the first row that hooks onto the drip edge. Shingle 2 is the main set of diamonds that will make up the bulk of the coverage, and shingle 3 is the top row that ends the run of shingles and will be covered ultimately with a ridge cap. I have a buddy that does standing seam metal roofs so he was able to help me rip down the 18” wide copper into 3” strips (for the drip edge) and 6” strips for the ridge cap. All of the diamonds (1,2, and 3) are cut from 6” wide strips. If I had to do all over again, I would have just bought a 6” wide roll, versus the 18” to eliminate the extra ripping process.
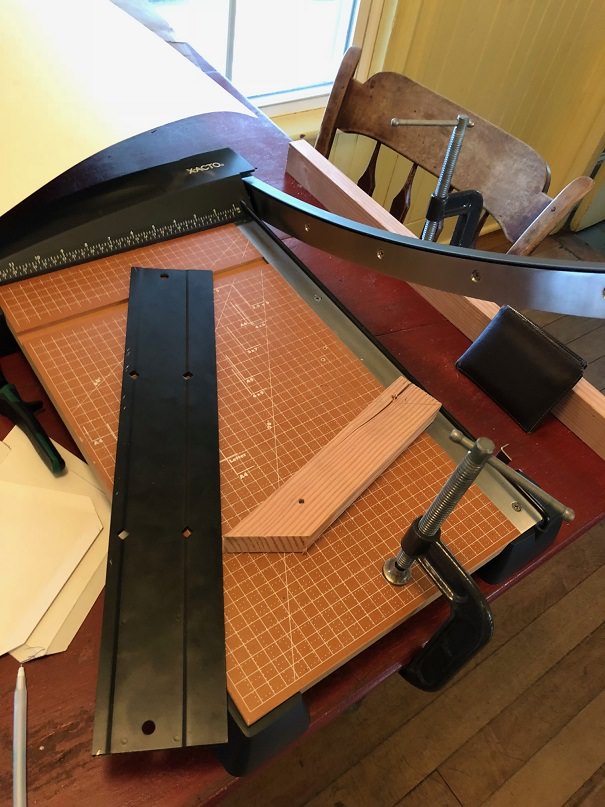
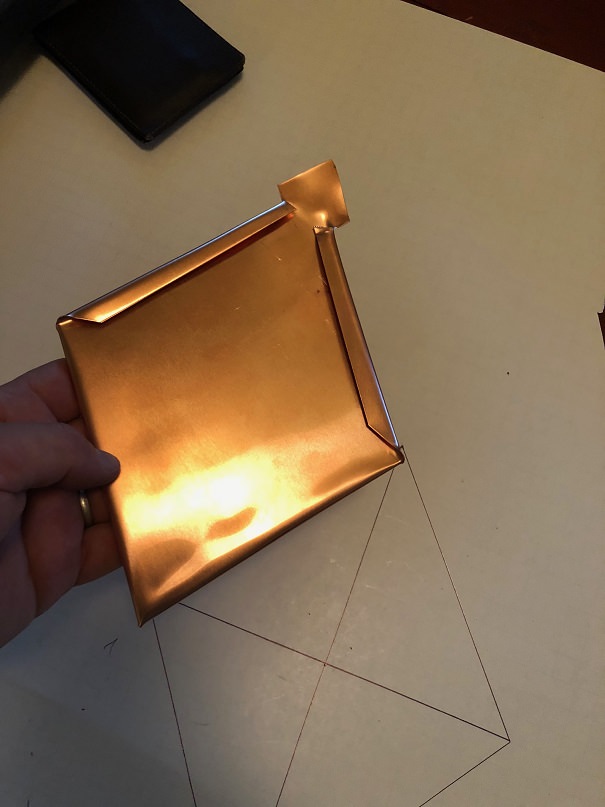
Step 3 – cut the diamonds. As it turns out, a heavy duty paper cutter (got this tip from Basic Copper) will easily cut 16oz copper. I’m not sure if it will cut 20oz, but I’m sure Basic Copper could tell you. I fashioned a jig onto the paper cutter (pic 3) by taking a piece of scrap wood and securing it at the exact angle of the diamonds. I then secured an “end stop” so all I had to do was run the 6” line of copper through the shear and when it hit the stop, cut. A very fast way to cut multiple exactly same diamonds. From here I started with the shingle 2 patterns. Make 2 relief cuts at the top of the diamond to allow a place to place a nail. Each diamond is folded twice on the front and twice on the back. This allows you to interlock them as you put them up on the roof. To fold them, I bought a $10 harbor freight folding tool (the long black tool in pic 3). Basically, you insert the copper into the 3/8” end and fold over. It makes fairly decent folds into the copper.
Step 3 – Nail up the drip edge
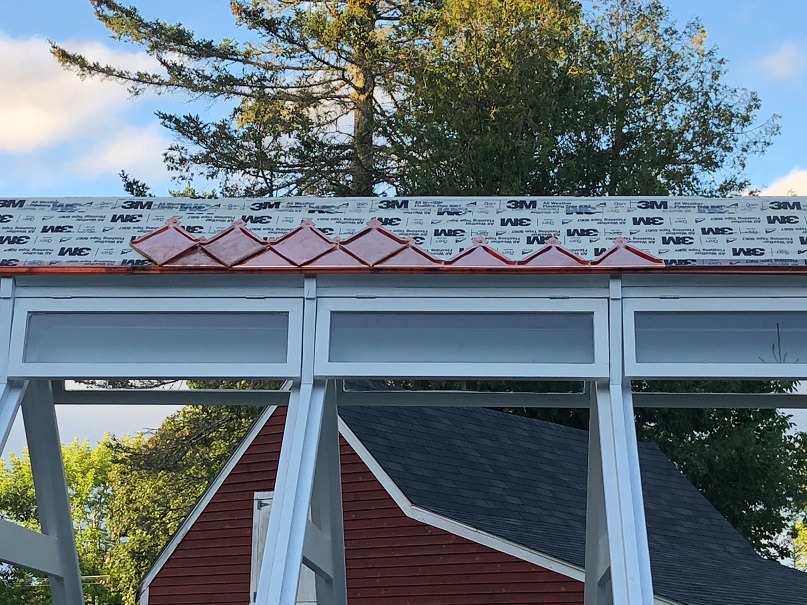
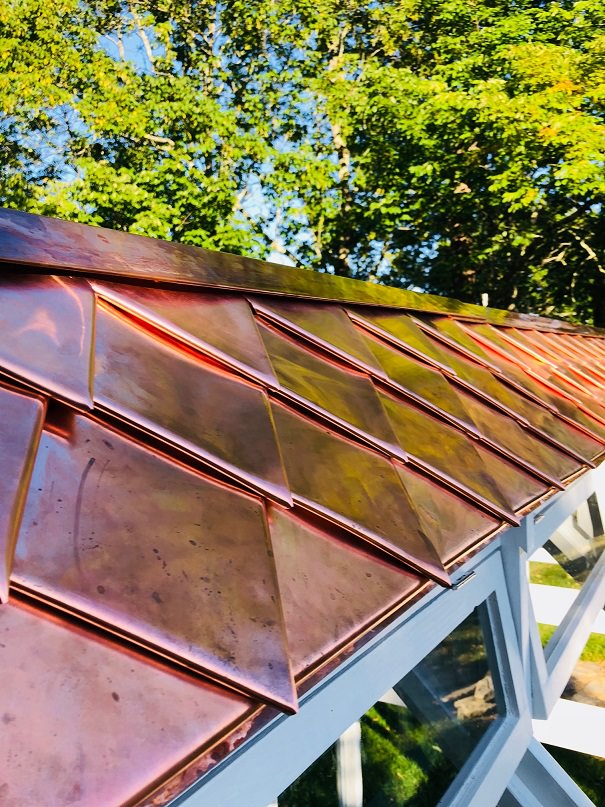
Step 4 – Start the first course of shingle #1. You can see how they look in pic 8
Step 5 – interlock shingle #2 to the first row and continue this pattern up to the top of the roof
Step 6 – finish the course with shingle #3
Step 7 – Nail up the ridge cap
Helpful hints:
-Wear gloves if you can. I managed to slice myself several times and finally figured out that a thin set of gloves will stop the cuts but still allow me to work effectively. This will also reduce the number of finger prints on the copper. They will fade, and basic white vinegar will clean up the copper quite nicely if it bothers you.
-Buy more copper than you think you’ll need. I ran out on the back side of the roof and had to order more.
-Mock it up on cardstock first. Cardstock is inexpensive. Copper is not.