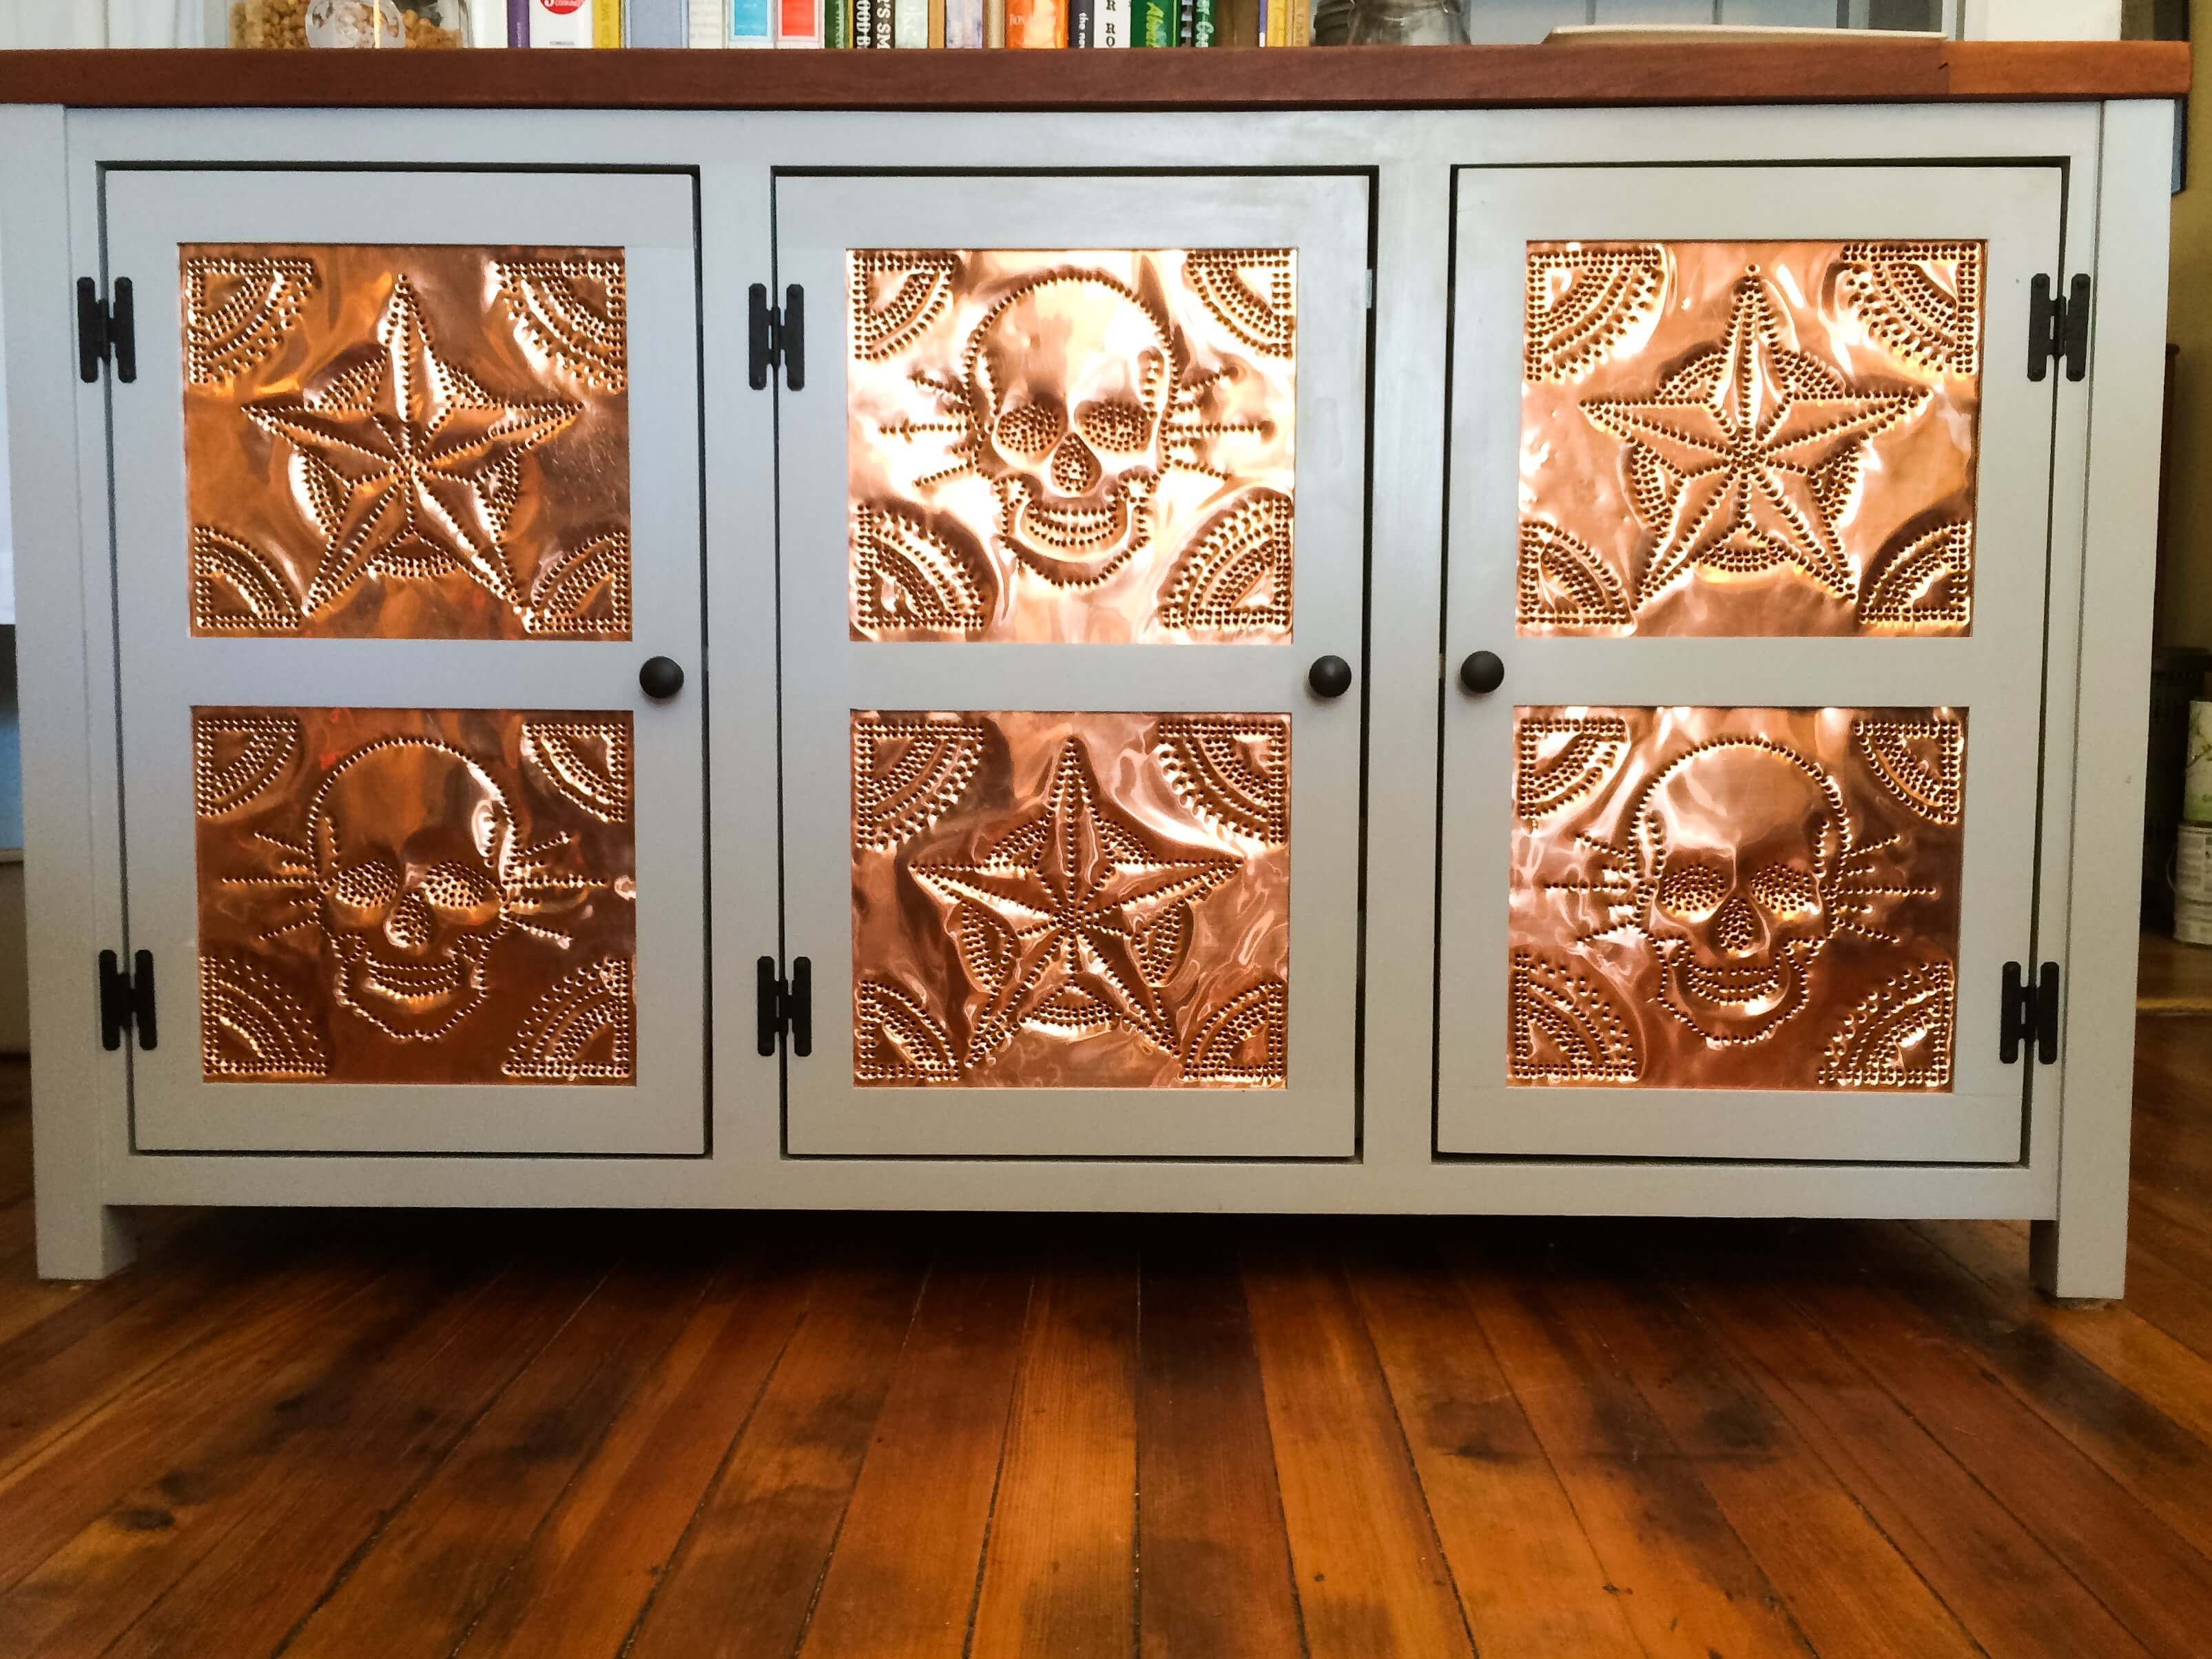
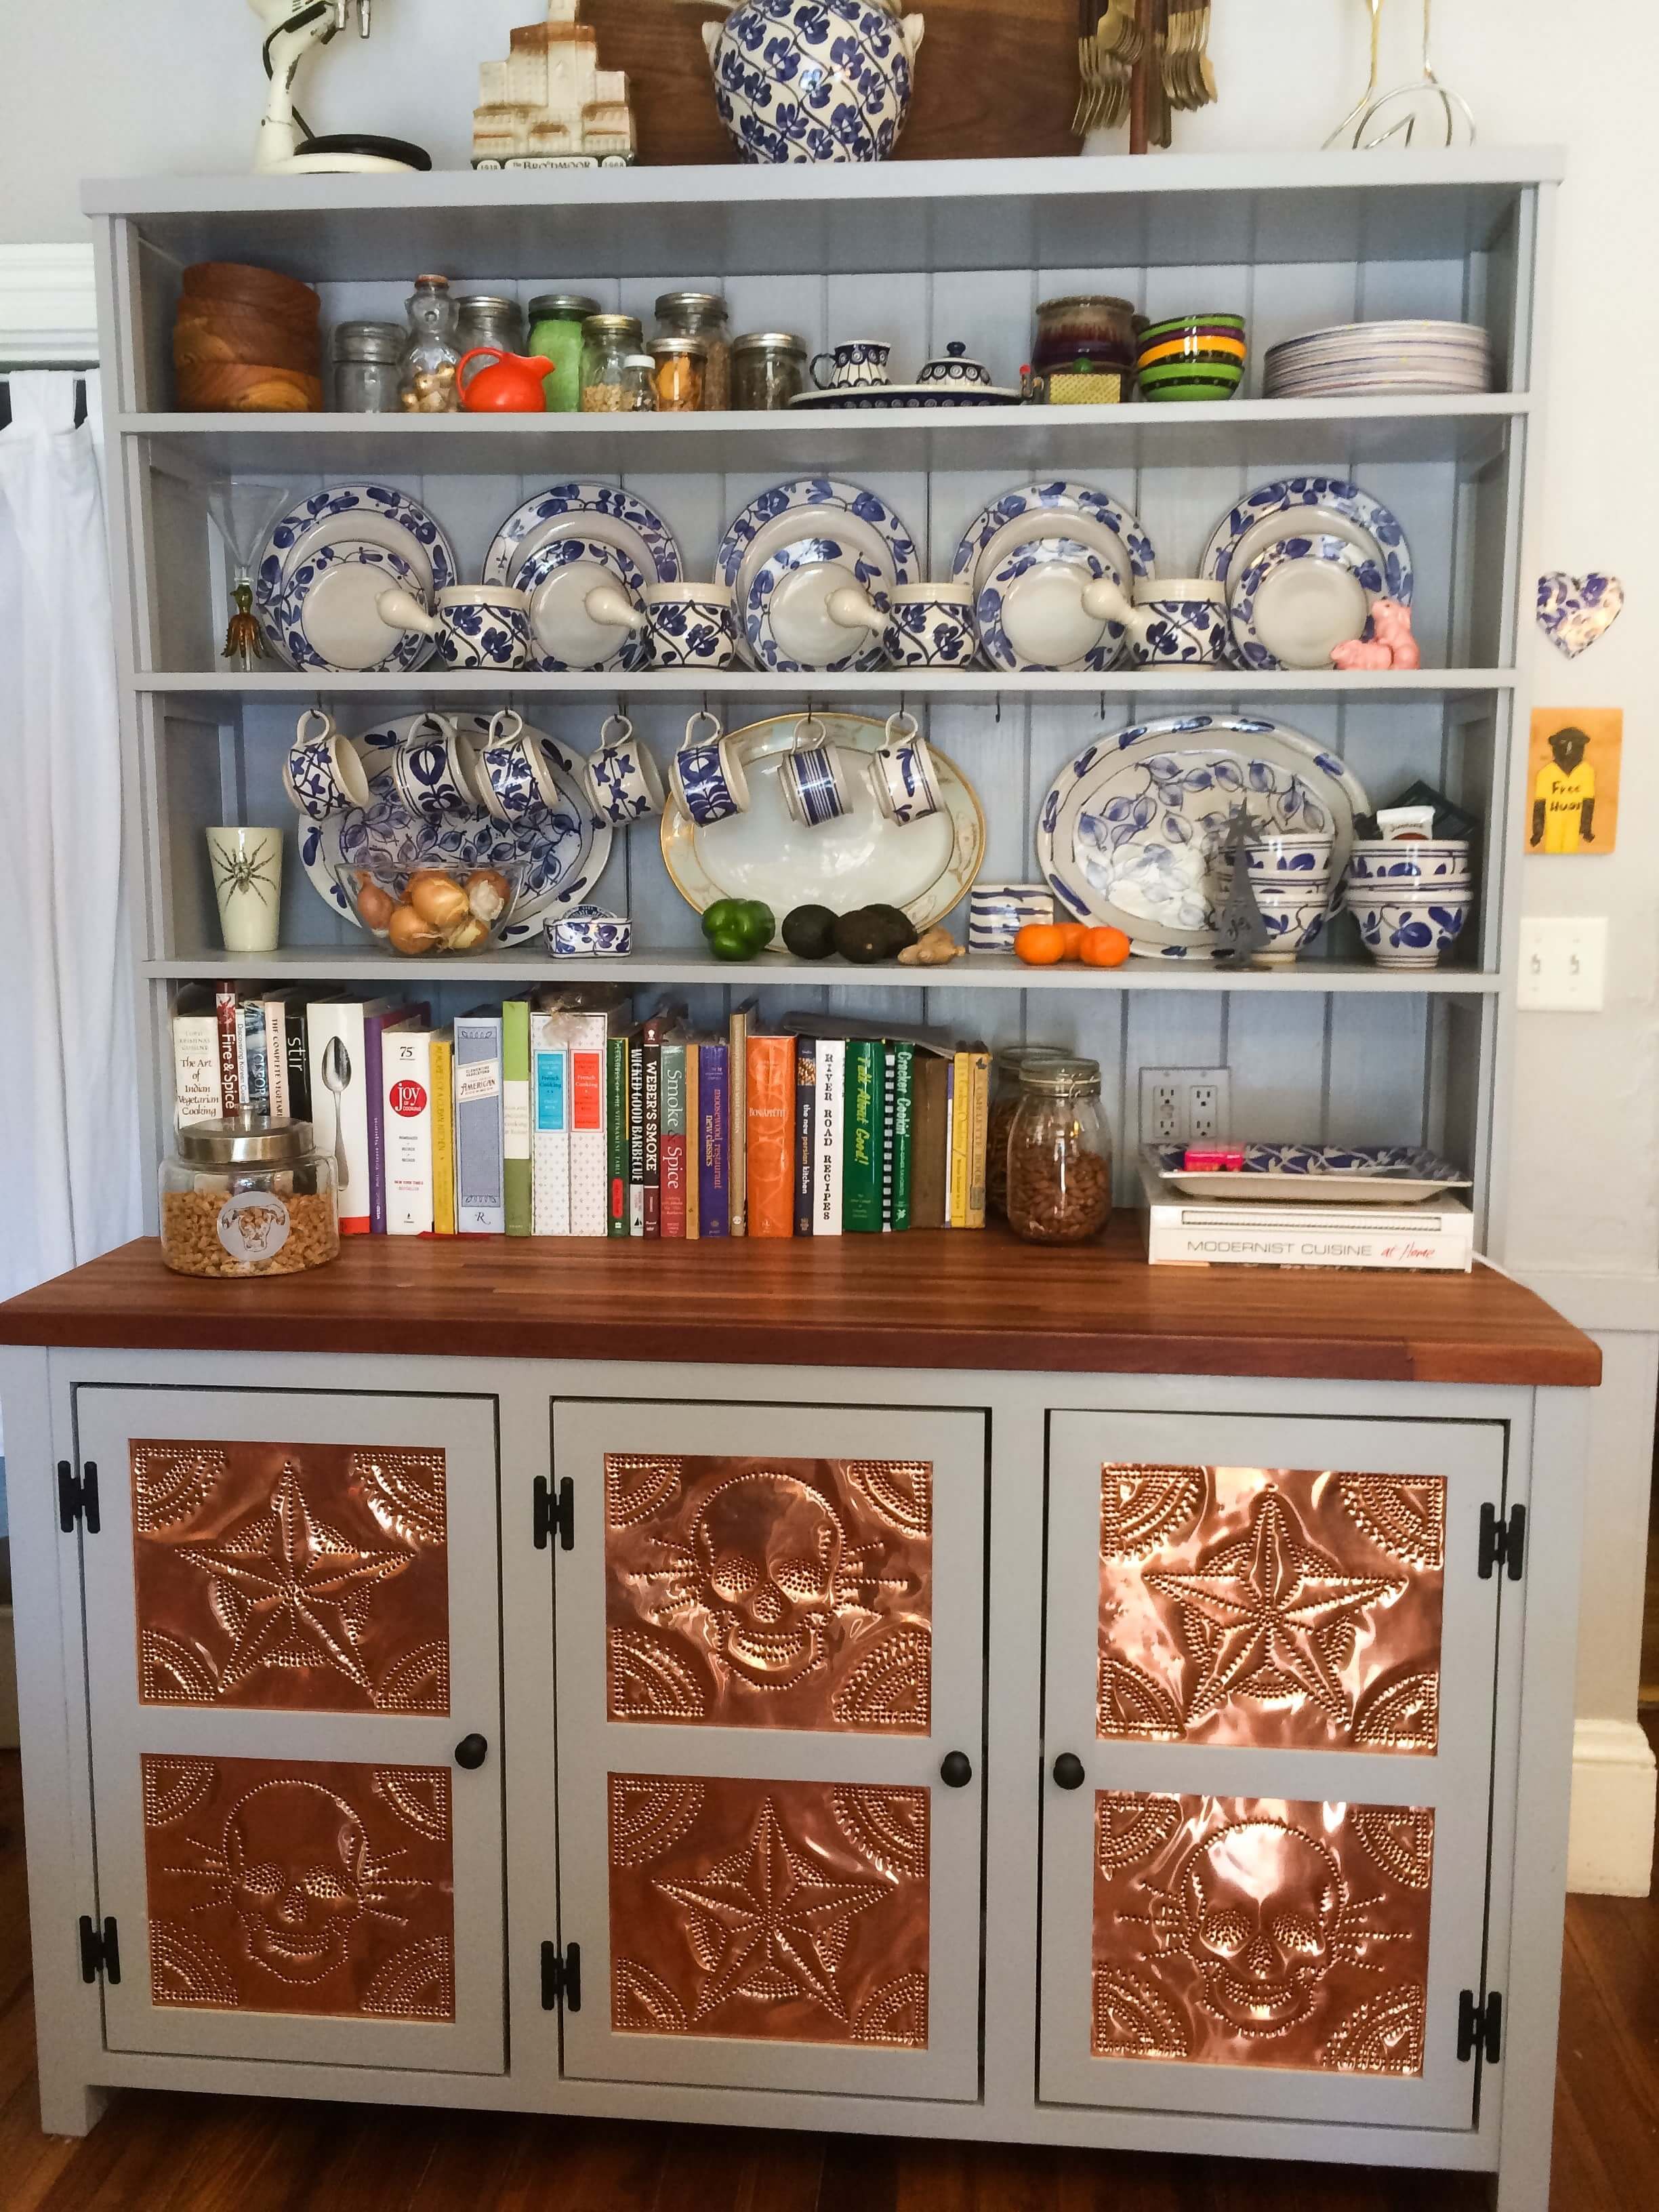
These beautiful copper pie safe panel inserts were made by Chris Barber & Kendra Halliwell of Boston MA using our 16 mil copper sheeting. They share their experience...
"After a conversation with you about the project, I took your advice to use 16 mil copper sheet from a roll. That gauge is strong enough for the panels to hold their shape in the cabinet doors, even with a little kick, but thin enough to punch easily. [for many pie safes or cabinet inserts the 10 mil may be sufficient, but in this case, with the inserts a bit larger than some and also lower to the ground than some, the 16 mil was an optimal choice]. At first we wanted to pre-age the copper for a matte brown patina, but testing with vinegar & other acids persuaded us to let the copper age naturally cover time instead. We are glad we did, because we are enjoying the shiny retexture more than we thought we would. Most of the time, the dimples around the holes shine like little lights while the solid surfaces reflect the darker floor. It is a fantastic effect, and completely unexpected. I also chose not to fix [sealant/ clear coat] the copper, so we know it will eventually gain a patina of some kind. I look forward to seeing what it does. The punching takes a good whack with a hammer, so I did not do more than four panels in a day. I used an 1/8" tapered punch from a Tekton cold chisel & punch set. My claw hammer with a textured head helped avoid glancing off the punch & hitting my hand. It was not necessary to secure the copper to the work surface, even though it still held a slight curve from the roll. My hand holding the punch was enough to hold it still. My wife drew & printed the designs at work where she has an oversized printer, but we could have taped multiple sheets of printer paper together if necessary. We cut the panels off the roll with sheet metal shears, & taped the paper design to each panel right before punching it. Everything I found online recommended putting cardboard under the copper, but I thought that sounded too soft to allow the punch to cut the holes without excessive dimpling of the metal. I did not test this assumption, but placed 3/4" plywood under the copper instead. This did not avoid dimpling the surface, and my panels have a lot of the panels are not very flat. I wanted to avoid that, but it turned out to be a nice effect after all - especially around the skulls. The way the eye sockets curve inward was the one effect that I can claim to have anticipated & encouraged with a tighter grouping of holes. The punching is not like hammering nails. Since the tool does not have a point, it does not sink very far before the plywood stops it. This means it feels a bit harsher on the hands than hammering something together. The photo attached shows the punch I used next to a chisel from the same set. They used to be the same length. Some of the hardened steel was pulverized into dust, so the work should be done in a shop space that can get messy if possible. It is also loud. There are any number of wrong choices I may have made for the project, but it did not take more than a few days & I believe in happy accidents."