
Guide to Choosing the Right Thickness for Your Copper Backsplash and Surround
When it comes to selecting the thickness for your copper backsplash, there are several factors to consider. The decision largely depends on factors such as the potential for damage, the desired aesthetic, your installation plan, the intended use, budget constraints, and personal preferences.
Thin Material (5 mil):
If you opt for thinner copper material, like 5 mil, it's advisable to wrap it around an MDF board or another suitable smooth and flat substrate. Ensure the board is free from any imperfections such as lumps, uneven areas, or debris that could cause the copper to appear uneven when attached. The 5 mil can be attached to the board with an adhesive such as contact cement, though in some cases, a high performance contact cement may be preferable. You can check out our video tutorial on adhering thin copper to MDF board for an example of that process. For added durability, consider sealing the copper with a two-part epoxy while it's flat before mounting it on the wall using Liquid Nails or a similar adhesive.
Example of a 5 mil Patina Copper Backsplash

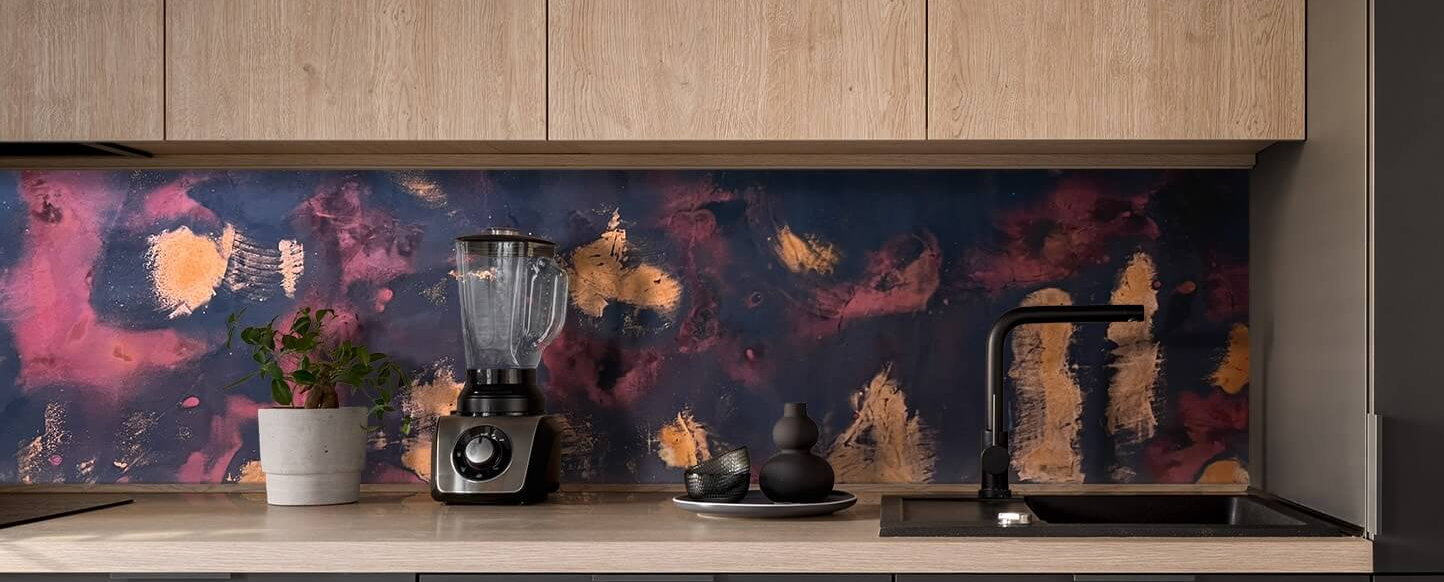
Medium Thickness (10 mil):
If you intend to attach the copper directly to drywall or another smooth wall surface, a minimum thickness of 10 mil is recommended. Use construction adhesive such as Liquid Nails for attachment and consider adding some edge treatment for a more polished look. Decorative options include using decorative nails around the edges, framing it with wood trim, or incorporating 1-inch-wide copper strips.
Example of a 10 mil Copper Backsplash 
Thicker Options (16 mil, 22 mil, or 32 mil):
For even greater durability and thickness, consider copper options such as 16 mil, 22 mil, or 32 mil. Attach these thicker materials to the wall using heavy-duty construction adhesive, such as Liquid Nails. Ensure the adhesive is evenly spread over the entire surface and secure the edges with nails or your chosen trim. For all thicker copper options, you have the choice to leave it without a sealant, allowing the natural antimicrobial properties of copper to go to work. Over time, these surfaces will develop a unique patina, which many people find appealing. However, if you prefer to maintain the original copper color or a specific patina design, periodic polishing or a light clear coat sealant can be applied. There are various aerosol and brush-on sealant options available. The 22 mil copper is also available with a hammered finish as pictured below.
Example of a 22 mil Hammered Copper Backsplash 
When positioning your backsplash, consider its proximity to heat sources. If it will be located behind a kitchen stove where heat shields are typically used, standard adhesives and sealants should suffice. However, if your backsplash will be exposed to higher temperatures due to a high heat output stove or other factors, invest in high-performance, heat-resistant contact adhesives and temperature-resistant sealants. As a general rule of thumb, if it's too hot to touch, it's too hot for typical adhesives and sealants.
By carefully considering these factors, you can choose the right thickness for your copper backsplash and ensure it both looks stunning and performs effectively in your desired location.
Please check out our thickness guide for video descriptions of the various thicknesses we offer. For more photos of copper backsplashes and surrounds check out our Photo Gallery.