University Lake School 7th Grade 2016 Class Auction Project-Copper Picture Frame-A Customer Tutorial Using 5 Mil Copper Foil
Materials:
- Copper Foil
- Paper Cutter
- Dull pencils
- Gloves
- Magazine/Notebooks/Newspapers
- Copper Paint
- Contact Cement
- Spray on lacquer in clear
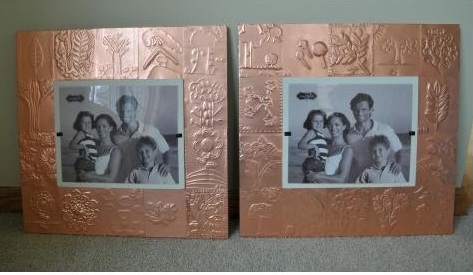
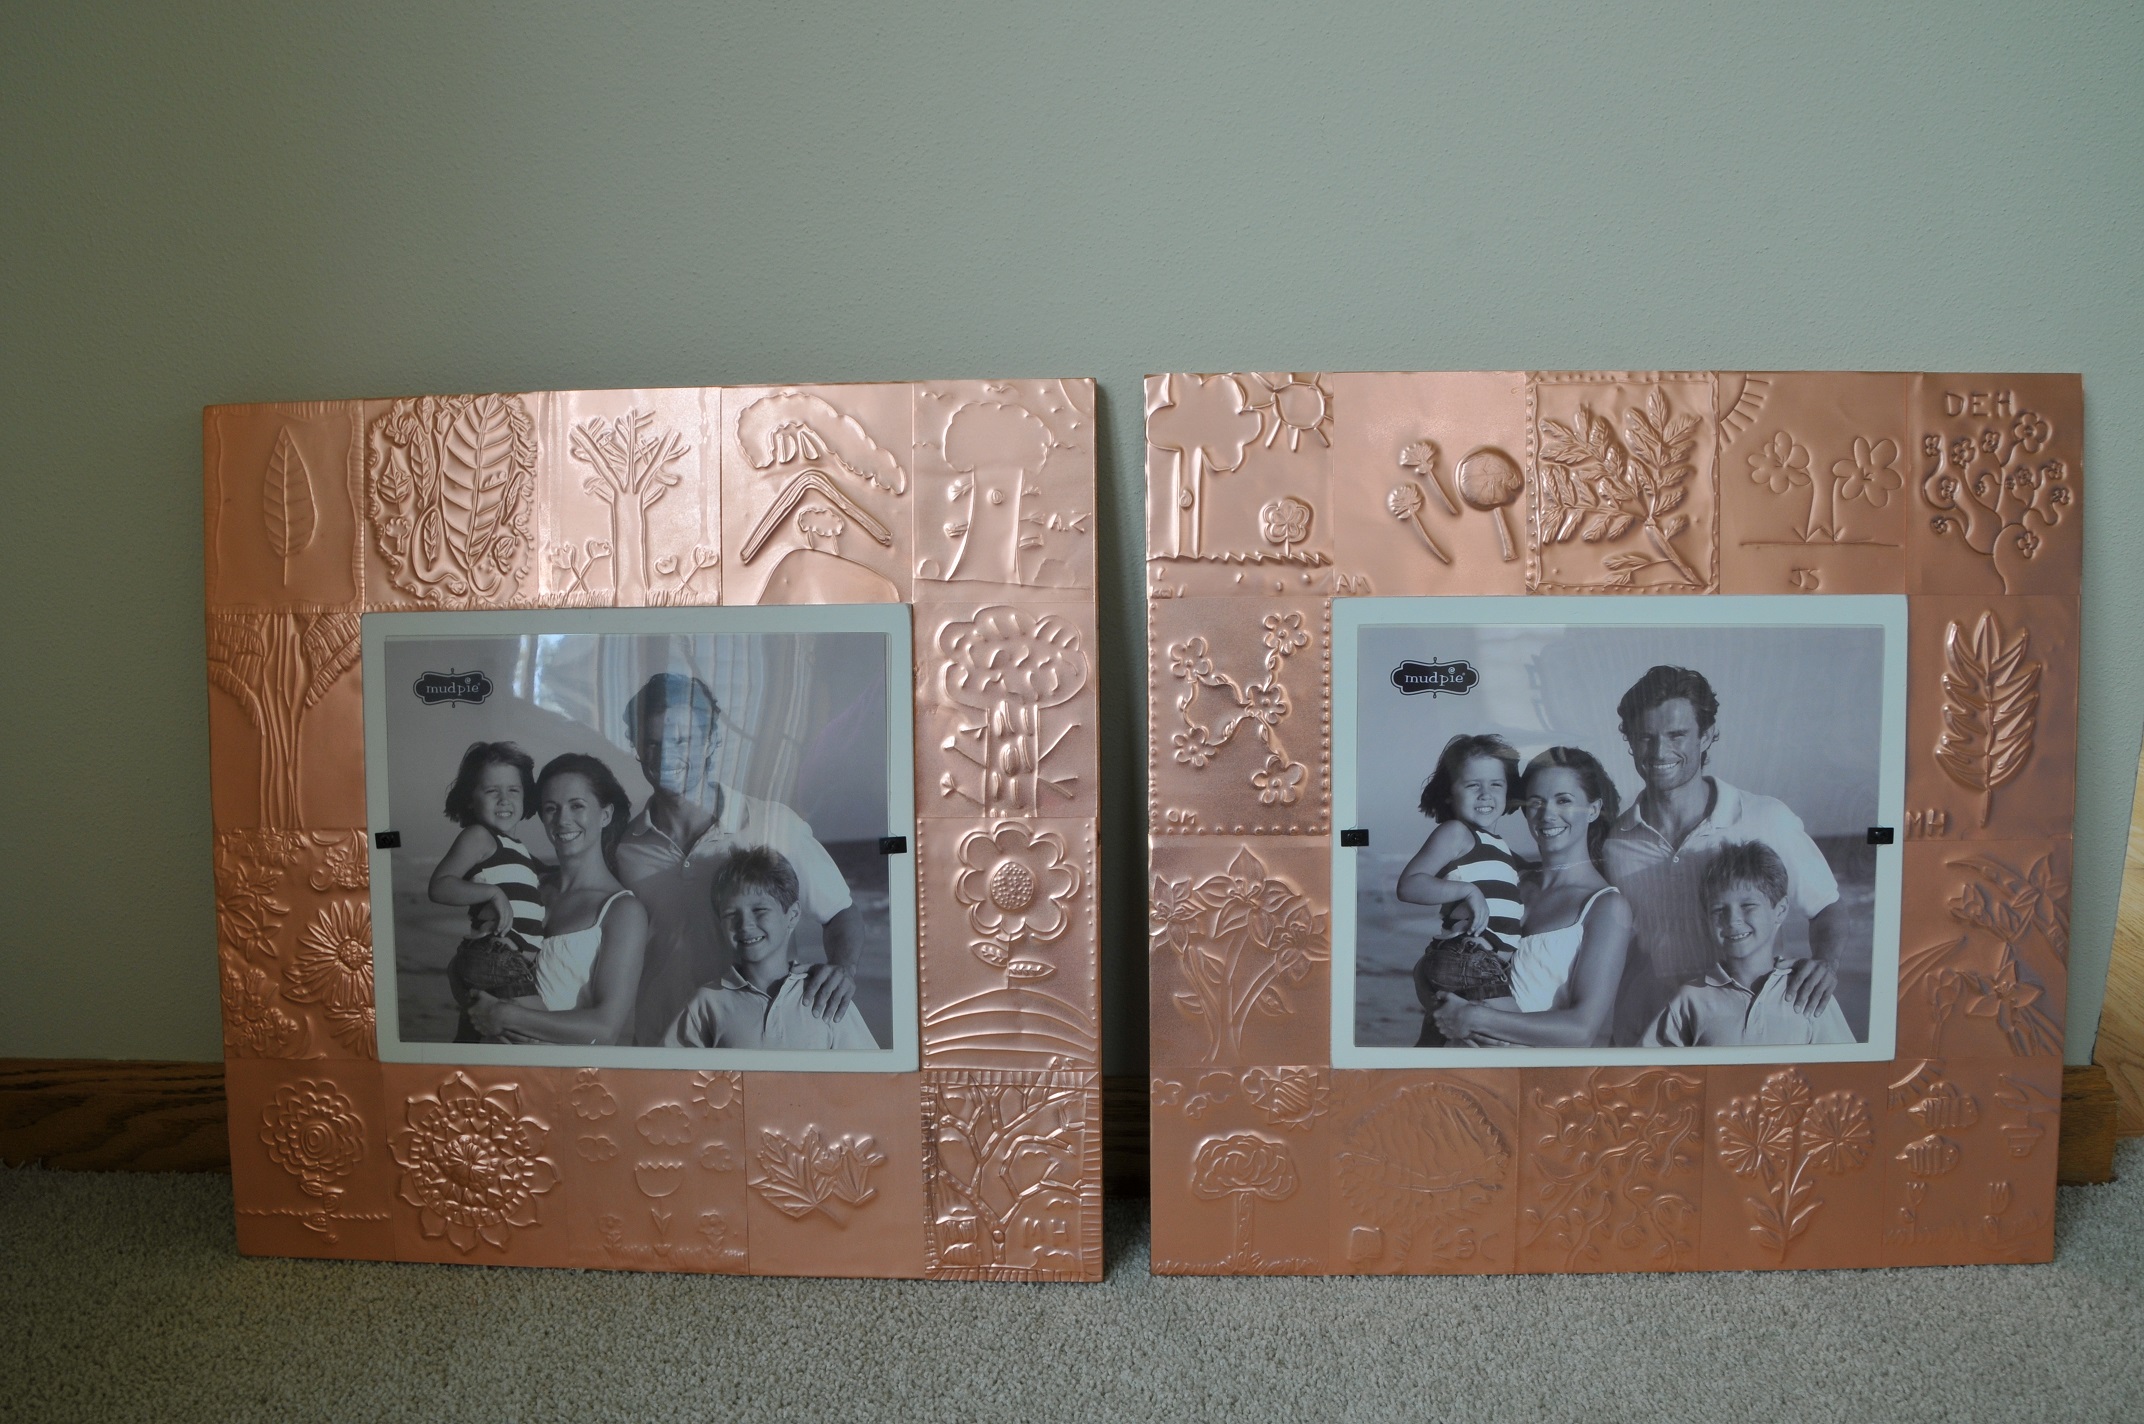
These picture frames were made using our 5 mil copper foil by a 7th grade class for a school auction. The step-by-step instructions below, will show you how to create this type of picture frame yourself, or with children in your classroom or community organization. These frames are just beautiful! The same technique can be used to create a frame around a mirror or chalkboard. The squares can revolve around a variety of themes, such as sea life, safari animals, leaves, flowers, or self portraits. You can add a patina solution for color, or leave the copper natural. This is a project that would also make for a wonderful personalized gift.
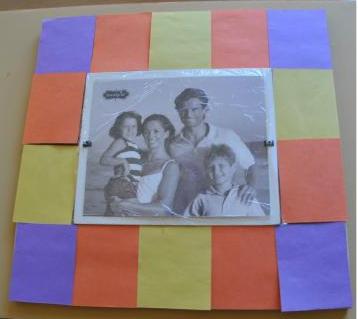
Step 1: Find piece(s) to display copper sheets on. Mirrors, picture frames, horizontal coat rack, plain wood boards, etc. all make excellent projects. Make sure the piece has a flat surface to glue the copper sheets onto. I found these two picture frames at Marshalls. They have a lot of wood space to display large sheets of copper, but you could easily go with smaller pieces if you like. Since my frames were not symmetrical, I planned out the size and placement of each copper piece using construction paper first.
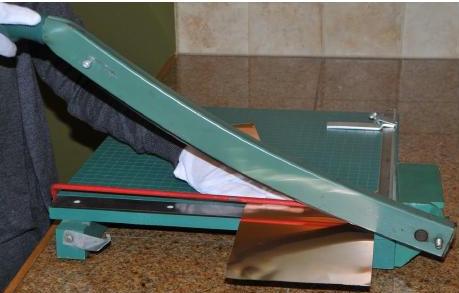
Step 2: Cut the copper pieces to the desired size using a paper cutter. I purchased twelve 5 Mil Copper Foil Sheets and cut them to size. The flat sheets were nice as we didn’t have to flatten rolls and it was very easy cutting them to size. I also had a lot of little scrap pieces left over which the students used as practice pieces first.
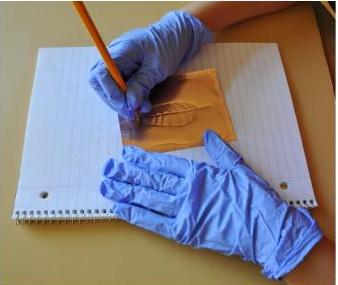
Step 3: Have each student emboss a copper piece. Our theme was Spring on the Green so each student embossed a leaf, tree or flower. They wore gloves to keep the copper smudge free saving me time and work to clean each piece. (One student didn’t use gloves and I just had to clean that piece with water diluted lemon juice.) First, they practiced on a scrap piece. Once you emboss the copper, it would be hard to undo. Place the copper piece onto a stack of papers to allow the indentation of the embossing to work. Use very dull pencils to emboss into the copper. Some of our students wanted to sign their initials into their artwork. They made sure to sign their initials backwards as the flip side is what displays.
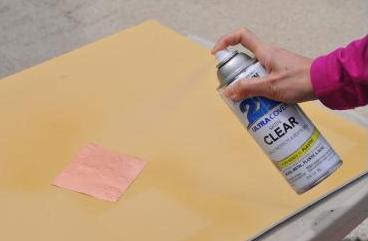
Step 4: Spray each copper piece with a clear coat sealant. This helps protect the final product from any smudges and will prevent a patina from developing.
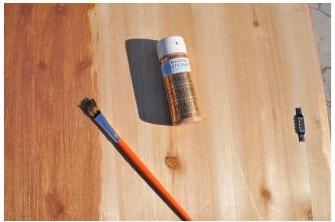
Step 5: If desired, paint the edges and back of your frames with copper colored paint.
Step 6: Glue each copper sheet onto your selected piece. I used Contact Cement, but you could also use Spray Adhesive.

Step 7: Have a glass of wine and enjoy your beautiful artwork.